Table of Contents
VpnStuff.net — SSH allows you to remotely server or other devices connected to the internet network. This article will share How to Use SSH on PC Windows.
Secure shell or SSH is a transfer protocol that allows users to control a device remotely or remotely via an internet connection.
How to Use SSH on PC Windows
Follow these steps to implement SSH on your windows computer.
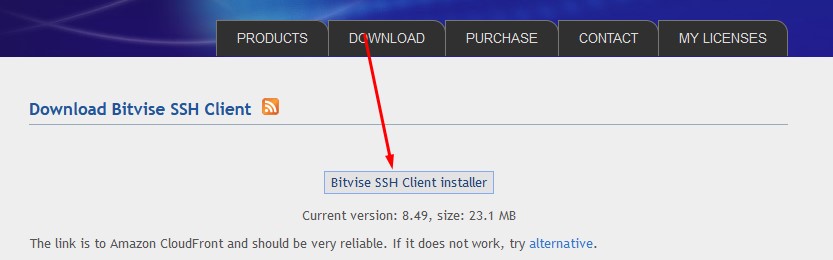
1. Download Bitvise SSH Client
Please download the Bitvise SSH Client application first.
- https://www.bitvise.com/ssh-client-download
2. Create SSH Account
To create an SSH account you can create it through SSH service provider sites such as FastSSH.com or SSHkit.com and many other SSH service provider sites.
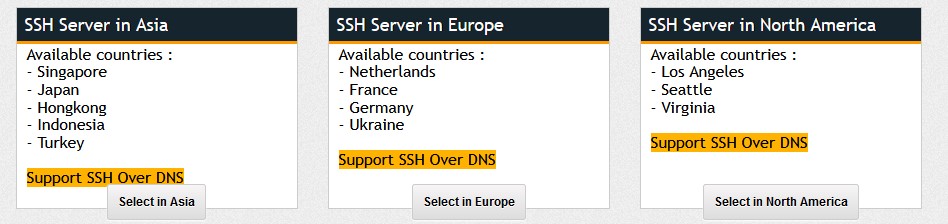
You can choose the SSH server of the country you want. Enter the username and password up to you, according to your wishes.
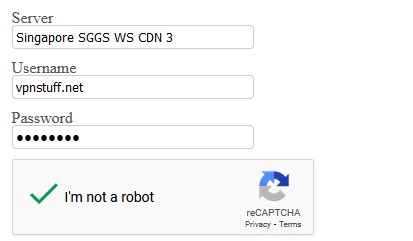
Click CREATE and wait a few seconds your SSH account will appear
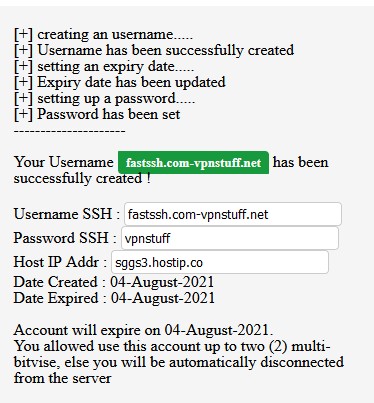
SSH account creation is complete. You have got an SSH account. Now proceed to the next step.
3. Setting Bitvise SSH Client
Open the Bitvise SSH Client application that you downloaded above and then enter the SSH account on the bitvise.
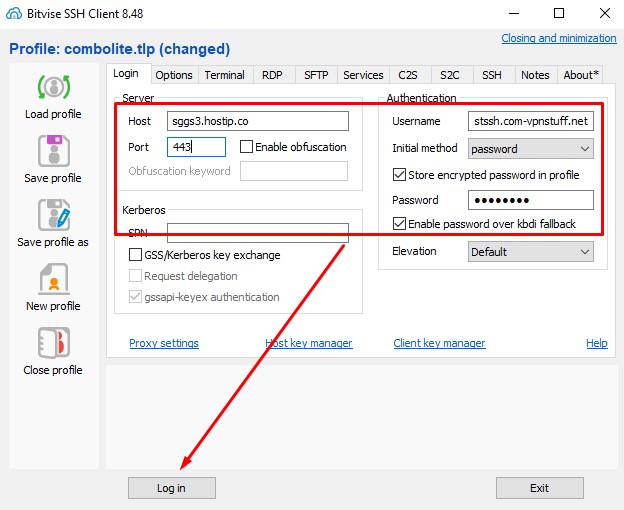
The SSH port is obtained when you create an SSH account.
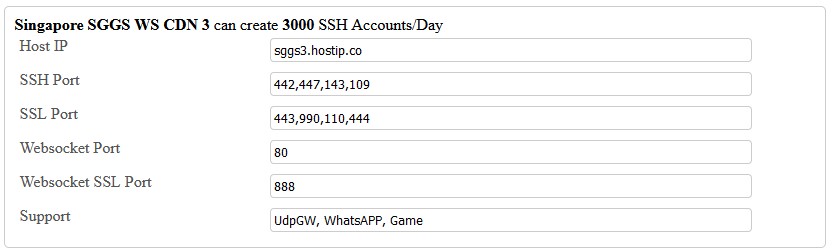
After you determine the SSH Port that you will use, now you are logged in.
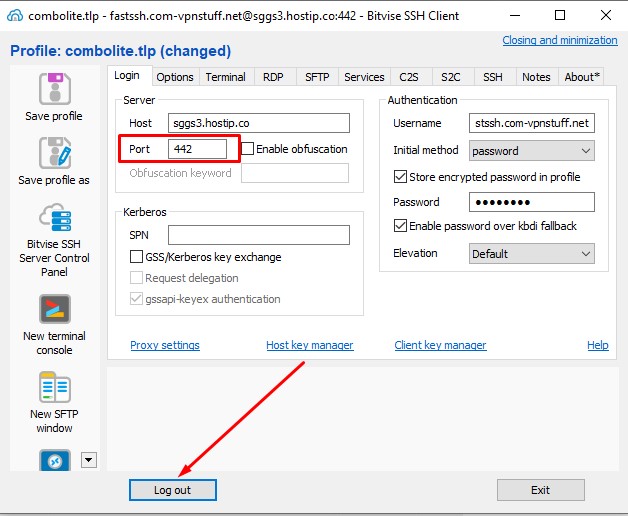
Setting SOCKS like image below.
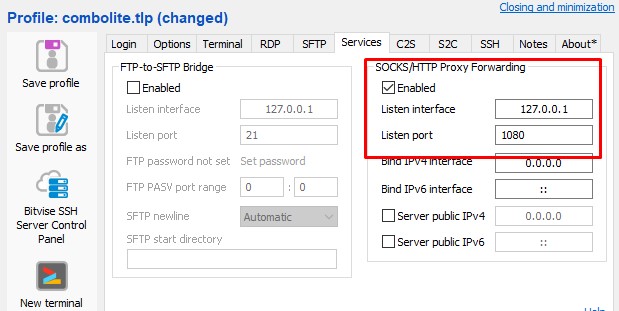
SSH is properly connected.
But it can’t be connected to the internet. You still need a TCP or UDP connecting application to connect to the internet. Like the Proxifier app.
Download and Setting Proxifier Application
You can download the Proxifier application through the official website.
- https://www.proxifier.com/download/
After you download and install. Then settings.
Open Proxifier App and select Profile, Proxy Servers..

Klick Add..
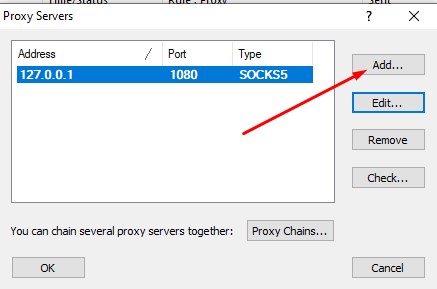
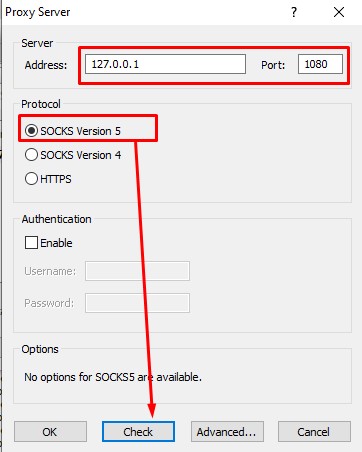
Form address fill : 127.0.0.1 and port 1080. Protocol select SOCKS Version 5 and Check. (This follows the address and port of the bitvise ssh client settings.)
Proxifier is connected properly.
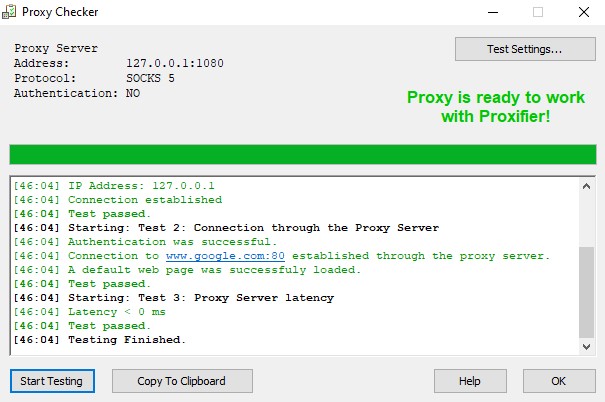
Please try browsing and ssh should be properly connected and running smoothly.